
いわゆるポップアップの表示方法です
ユーザーが文字入力できる特殊なアラート表示方法は以下記事参照↓

完成形はこれ
よく使用する、2種類のアラート表示方法です
Main.storyboardの編集
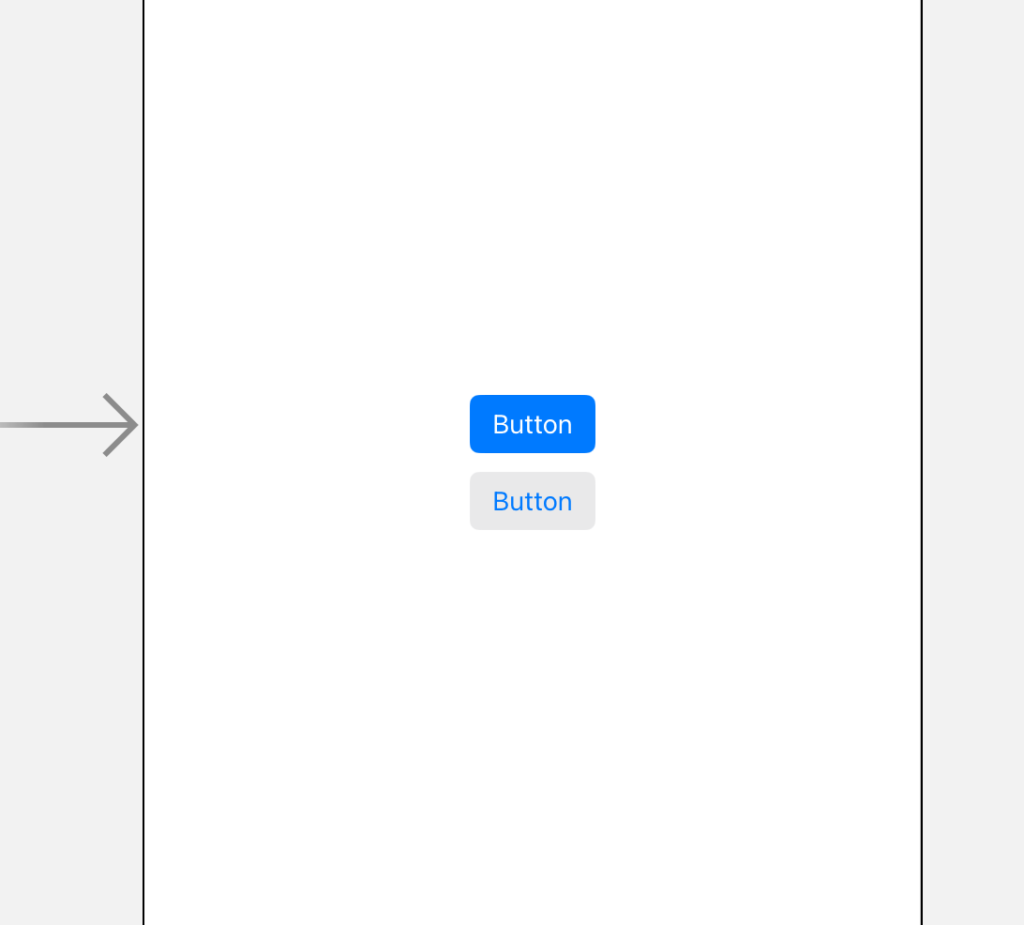
適当にボタンを2個配置します〜
ViewController.swiftの編集
配置したボタンは、controlキー押しながらビューっとViewControllerにひも付けて、下記のコードをコピペしたら完了 (´∀`)♪
import UIKit

class ViewController: UIViewController {

    override func viewDidLoad() {
        super.viewDidLoad()

    }

    @IBAction func pushButton(_ sender: Any) {

        //アラート表示
        let alert: UIAlertController = UIAlertController(title:"ボタンが押されました",message:"OKボタンで閉じる",preferredStyle:UIAlertController.Style.alert)
        //ボタンの処理
        let okAction: UIAlertAction = UIAlertAction(title:"OK", style: UIAlertAction.Style.default, handler:{
            //ボタンが押された時の処理をクロージャ実装する
            (action: UIAlertAction!) -> Void in
            //実際の処理
            print("ボタンが押されました")

        })

        alert.addAction(okAction)
        //実際にAlertを表示する
        present(alert, animated: true, completion: nil)

    }


    @IBAction func pushButton2(_ sender: Any) {

        //アラート表示
        let alert: UIAlertController =
        UIAlertController(title:"お元気ですか?",message:"",preferredStyle: UIAlertController.Style.alert)
        //確定ボタンの処理
        let noAction: UIAlertAction = UIAlertAction(title:"No",style: UIAlertAction.Style.default,handler:{
            //ボタンが押された時の処理をクロージャ実装する
            (action: UIAlertAction!) -> Void in
            print("No")
        })
        //キャンセルボタンの処理
        let yesAction: UIAlertAction = UIAlertAction(title: "Yes", style: UIAlertAction.Style.cancel, handler:{
            //クロージャ
            (action: UIAlertAction!) -> Void in
            //ここに"No"ボタンの処理を書く
            print("Yes")
        })

        alert.addAction(noAction)
        alert.addAction(yesAction)
        //実際にAlertを表示する
        present(alert, animated: true, completion: nil)
    }

}
参考になったら👍ボタン ↓


コメント